RoboDeploy® Pipeline Manager for Azure DevOps
This attended automation empowers team members to quickly and consistently provision an Azure DevOps workspace for a given UiPath Project, ensuring that every UiPath project is consistently versioned via Git Souce Control enabling teams to rapidly create and deploy process change via a Continuous Delivery Pipeline.
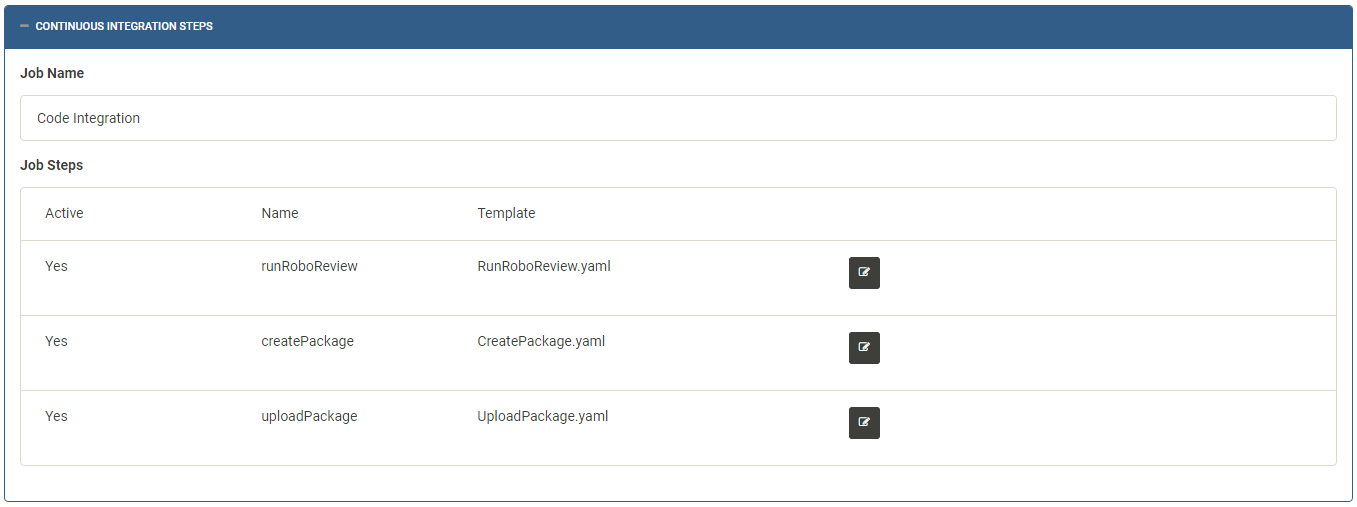
The Continuous Delivery Pipeline, triggered on each change commit in a monitored source control branch, automates the following actions on an available Build Agent:
- Retrieve the Source Code revision
- Automated Code Review using RoboReview® CLI
- Calculation of a Semantic Version number using GitVersion
- Packaging of the Project
- Uploading of the Project’s Package to the RoboDeploy® Agile Release Train
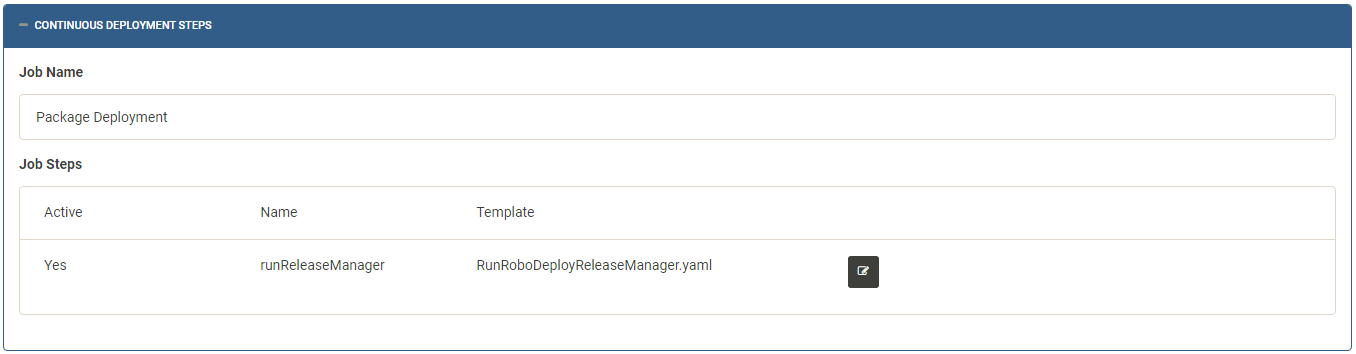
- Deployment of the Package via RoboDeploy® Release Manager.
Note: A “Build Agent” (machine) must be pre-provisioned to be able to run Pipeline actions. It must be have all pre-requisite software installed : UiPath Studio connected to an Orchestrator tenant, RoboReview® Command Line Interface (CLI) and GitVersion).
How to provision an Azure DevOps Project
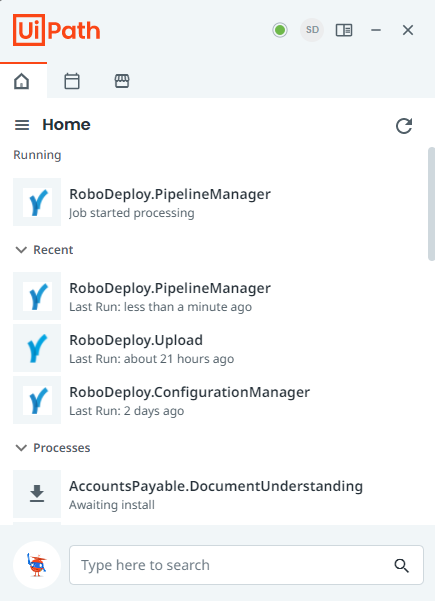
- Run RoboDeploy.PipelineManager from your UiPath Assistant.
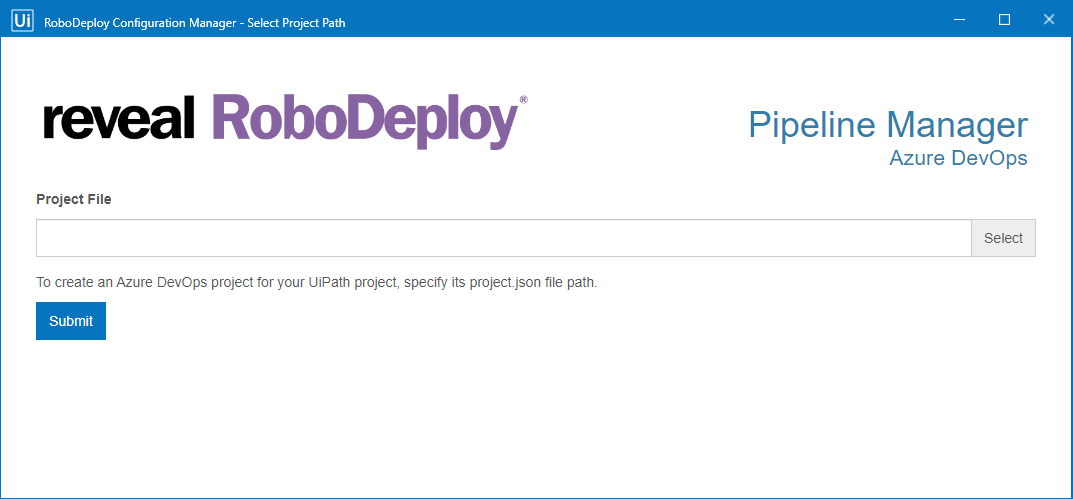
- Specify the file path to the Project’s Project.json file.
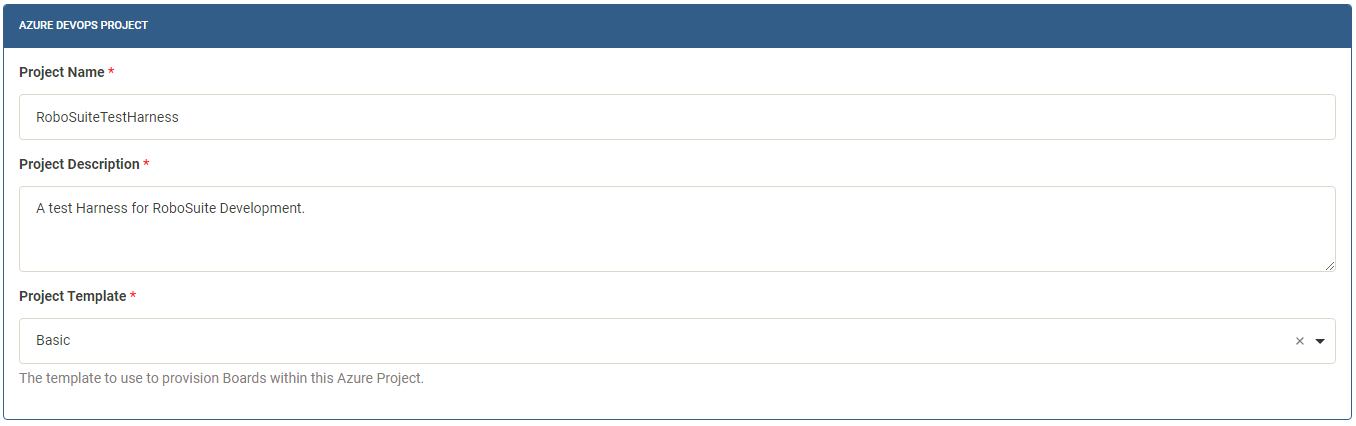
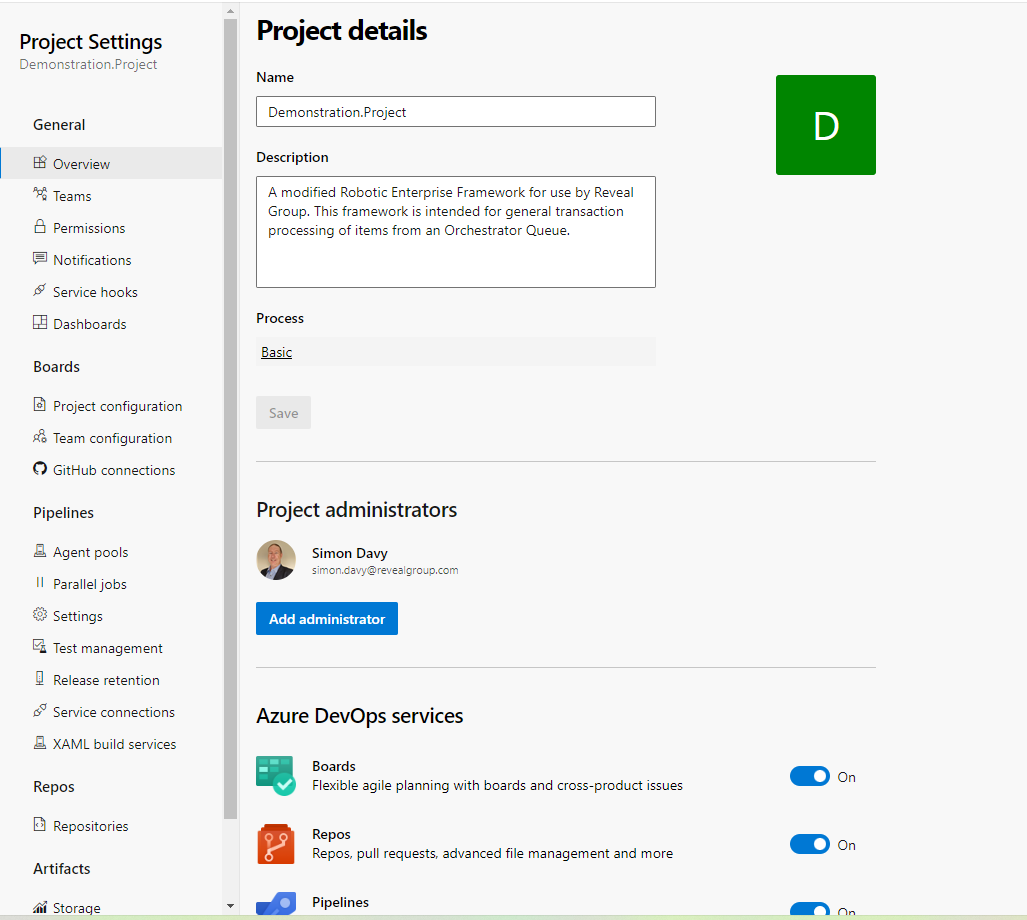
- Define the Azure DevOps Project Name, Description and Kanban Story Board type. Note The Project Name and Description will default to that of the selected UiPath Project.
- Define the Agent Pool that will run the Pipeline and the Source Control branches that are monitored for change. Note The form will be pre-configured with recommended settings.

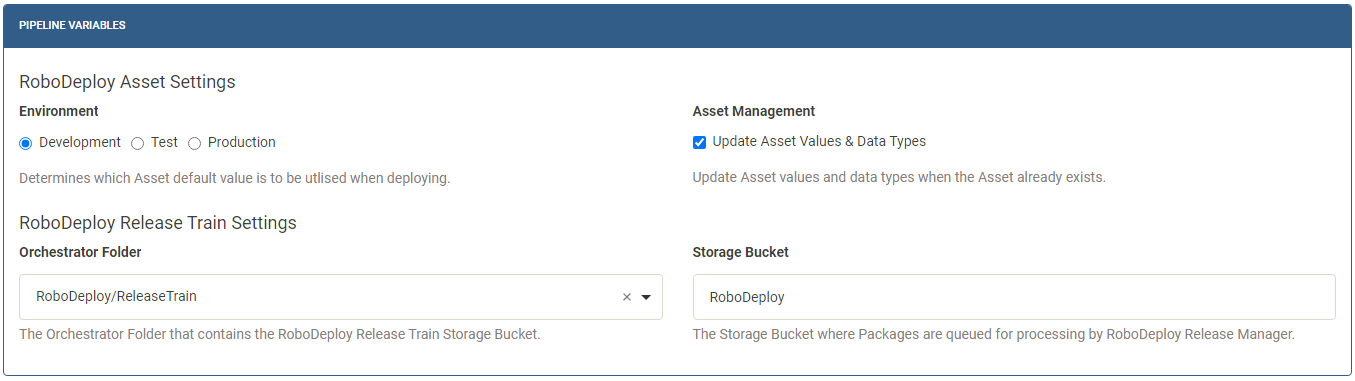
- Define variables for the Release Train Platform used by the pipeline for the packages it creates after each source change. Note The form will be pre-configured with recommended settings.
- Enable/Disable the pipelines Continuous Integration Steps. Note The form will be pre-configured with recommended settings.
- Enable/Disable the pipelines Continuous Deployment Steps. Note If you do not want the pipeline automatically deploying your package with RoboDeploy® Release Manager, disable this step to simply upload created packages to the desired Release Platform to await the next Release Train.
- Submit the form to provision the AZure DevOps Project. Once provisioned a browser window will be opened at the Azure DevOps Project Administration Page. Add team member to the project and have them clone its repository to start development.
Setting up a Build Agent
- Select a windows machine that will be the Build Agent for your Pipeline.
- Ensure it has UiPath Studio installed and connected to your Orchestrator Tenant.
- Ensure that RoboReview® CLI has been installed.
-
Create the following Environment Variables
Environment Variable Value REVEALGROUP_ROBOREVIEWThe full path to RoboReview.CommandLine.exe UIPATH_ROBOTThe full path to UiRobot.exe UIPATH_STUDIO_COMMANDLINEThe full path to UiPath.Studio.CommandLine.exe - Follow the steps detailed in Self-hosted Windows agents to install a build agent and register it to the
RoboSuiteAgent Pool.