How to Run RoboDesigner®
RoboDesigner® works by reading in project design instruction (PDI) files and generating the defined workflows in a UiPath project. You can import one or more Project Design Instructions to automatically generate Folders, Workflows, Arguments and Annotations.
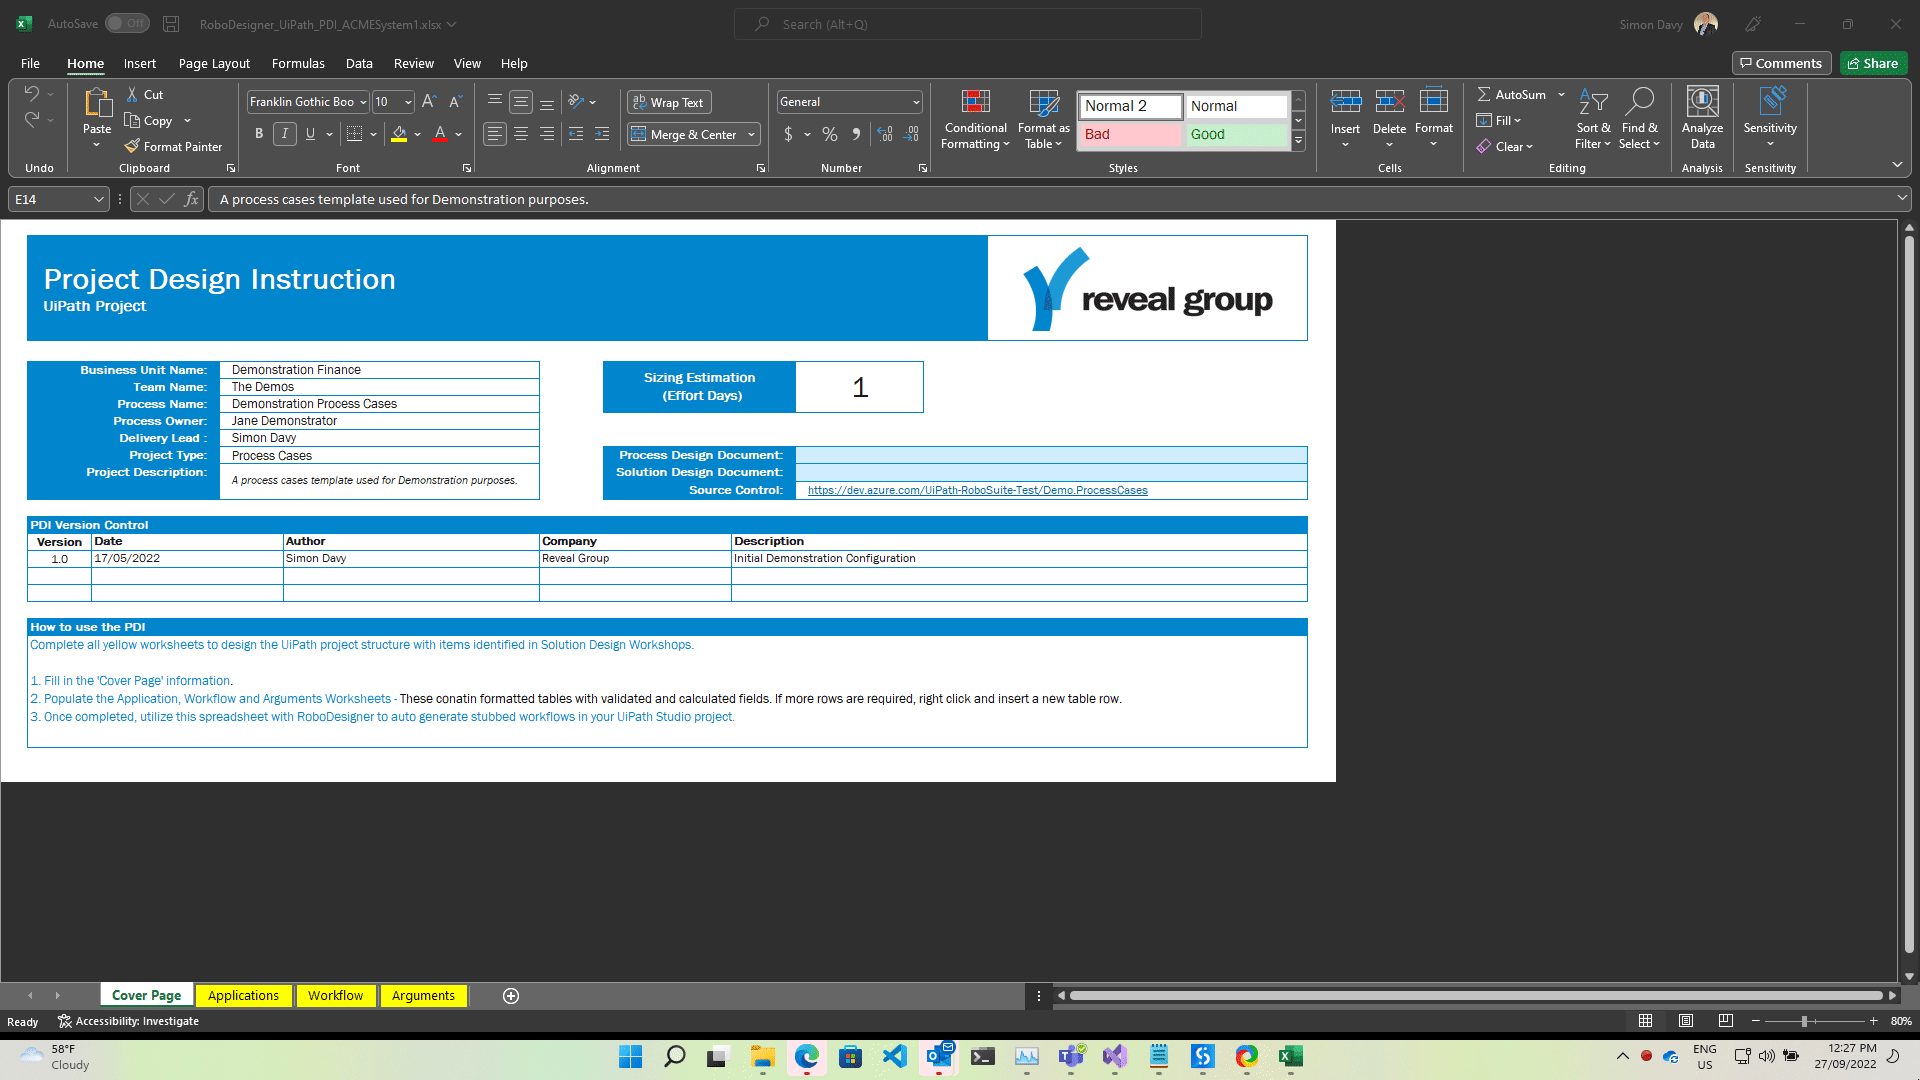
Document Project Design by completing a Project Design Instruction (PDI)
- You can download the Project Design Instruction (PDI) template directly from the RoboSuite® toolbar.
Whilst conducting process design workshops, record design decisions in the Project Design Instruction (PDI) spreadsheet to define:
- project folder structures of workflows.
- workflows template types (Sequence, Flowchart or State Machine).
- workflow annotations.
- workflow arguments, including direction (input, input/output and output) and data type.
- Argument annotations.
Importing a Project Design Instruction
Once you have completed your project designs and are ready to start development, set up your UiPath project and import your PDI spreadsheets.
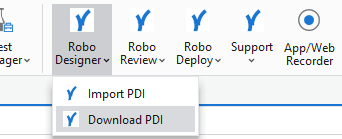
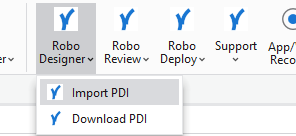
- Import your filled out PDI from the RoboSuite® toolbar.
- In the Popup File Open dialog, select the PDI spreadsheet to import.
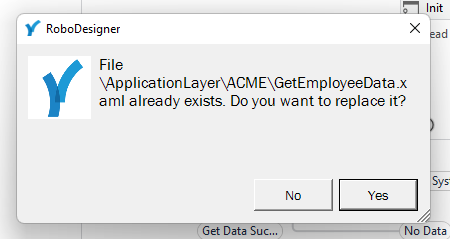
- If any workflows already exist, a popup will appear asking if you would like to replace the existing workflow with a new one. Note: If you select Yes, backups of the existing workflow will be created in the Project’s .RoboDesigner__Backups folder to prevent any loss of work. Delete backup workflows when no longer required.
- A popup will appear to notify you that RoboDeploy® has successfully imported the PDI.
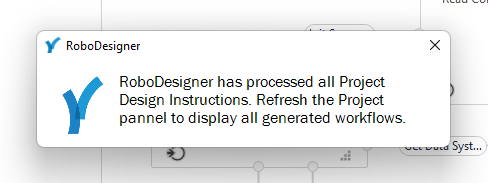
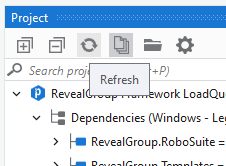
- Simply click the Refresh icon from the Project panel in Studio and all of your PDI workflows will be available.